Note
This documentation is for the new OMERO 5.1. version. See the latest OMERO 5.0.x version or the previous versions page to find documentation for the OMERO version you are using if you have not upgraded yet.
Customize OMERO clients
The OMERO clients offer a flexible user interface that can be customized. The sections below describe how to set up these features.
Index page
Create new custom template in /your/path/to/templates/mytemplate/index.html and add the following
Note
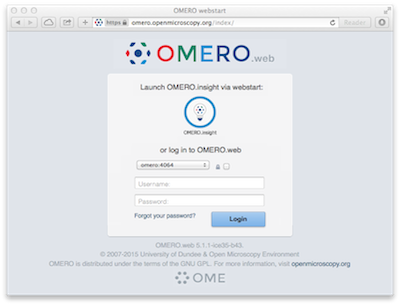
Users will no longer be automatically redirected to the login page
$ bin/omero config set omero.web.template_dirs '/your/path/to/templates/'
$ bin/omero config set omero.web.index_template 'mytemplate/index.html'
Login page
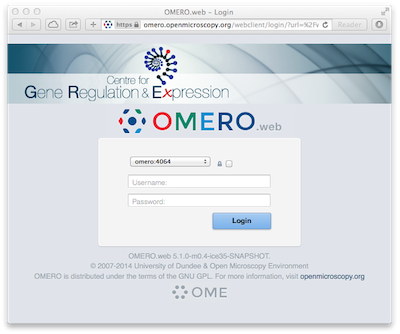
omero.web.login_logo allows you to customize the webclient login page with your own logo. Logo images should ideally be 150 pixels high or less and will appear above the OMERO logo. You will need to host the image somewhere else and link to it with
$ bin/omero config set omero.web.login_logo 'http://www.url/to/image.png'
Login redirection
omero.web.login_redirect property redirects to the given location after logging in.
$ bin/omero config set omero.web.login_redirect '{"redirect": ["webindex"], "viewname": "load_template", "args":["userdata"], "query_string": "experimenter=-1"}'
Orphaned container
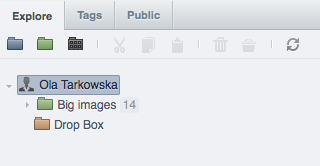
omero.client.ui.tree.orphans.name allows you to change the name of the “Orphaned images” container located in the client data manager tree.
$ bin/omero config set omero.client.ui.tree.orphans.name "Orphaned images"
Disabling scripts
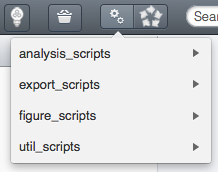
omero.client.scripts_to_ignore hides the scripts that the clients should not display
$ bin/omero config append omero.client.scripts_to_ignore "/my_scripts/script.py"
Download restrictions
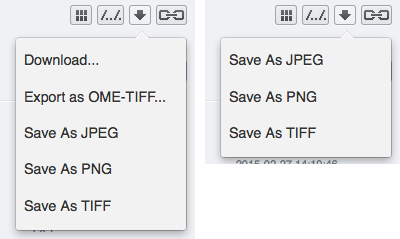
omero.policy.binary_access determines whether users can access binary files from disk. Binary access includes all attempts to download a file from the UI.
$ bin/omero config set omero.policy.binary_access "+read,+write,+image"
